Friday, January 21, 2011

Baha Breeze Build a Blossom card

This card is a take on the Tri-fold technique but I made this a 7 by 5 inch card and scored at 2 1/2 and turned the card around and scored at 2 1/2 on other side to make my 5 by 7 card.  Then I cut a center piece in Natural white and two layers of baha breeze embossed using the Vintage Wallpaper embossing  folder for the two sides. The blossom was stamped with Marina Mist ink on Baha Breeze card stock with the leave made by stamping Old Olive ink on Pear Pizzazz card stock - the same for the center piece.  Added a little Dazzling Diamond glitter on the flower, some sponging around the edges of the card, a beautiful Marina Mist satin Ribbon, a sentiment, and the card is finished.  The center piece is attached to the side with Stampin' Dimensionals.  I like the way this card turned out.

The Build a Blossom Stamp set and punch are so easy to work with and you can turn out beautiful flowers in just a few minutes. I hope you will try making this fun card.  The larger size makes this a spectacular card for a special some one's birthday.

Sunday, January 16, 2011

Stamping Party

Stamping Party on January 7th.    The weather cooperated so that we could get together at Barbara's house with 9 other stampers.  We were ready to play with some of the new stamps and punches and move on from the holidays. 
Here the two Bobbi's are busy creating cards for birthdays!

We love the marina mist and pear pizzazz.  An interesting fold makes this card unique.  Of course some sparkly diamonds on the butterfly always helps.  Color the flower stamp with markers before stamping.  There is so much you can do with the Friends Never Fade stamp set. 


The Build a Blossom and Blossom Petals Punch are rapidly becoming favorites with this group.  How easy is it to create a beautiful card with this. 


Simply stamp the petals, punch out and highlight with a bit of sponging.  Same for the leaves.  Then easy assembly.  A small circle on the back of the flower makes it easier to assemble.  Mount on dry embossed paper and you are all set.  Don't you love that Big Shot !!!  So easy to dress up a card.  Even our "bow challenged" people were happy with this method of adding ribbon. 


Getting ready for Valentines day.  Create your own DSP - using Elements of Style flourish stamped multiple times on the long strip.  Enhance with some sponging and you've got it made.  The  Filled with Love heart stamp fits the heart punch perfectly.  (Can you tell I would rather punch than cut out).  That heart is backed with The Scalloped Heart of Hearts embosslits from the Big Shot.  The sentiment is embossed with the white embossing powder so that it will stand out. 


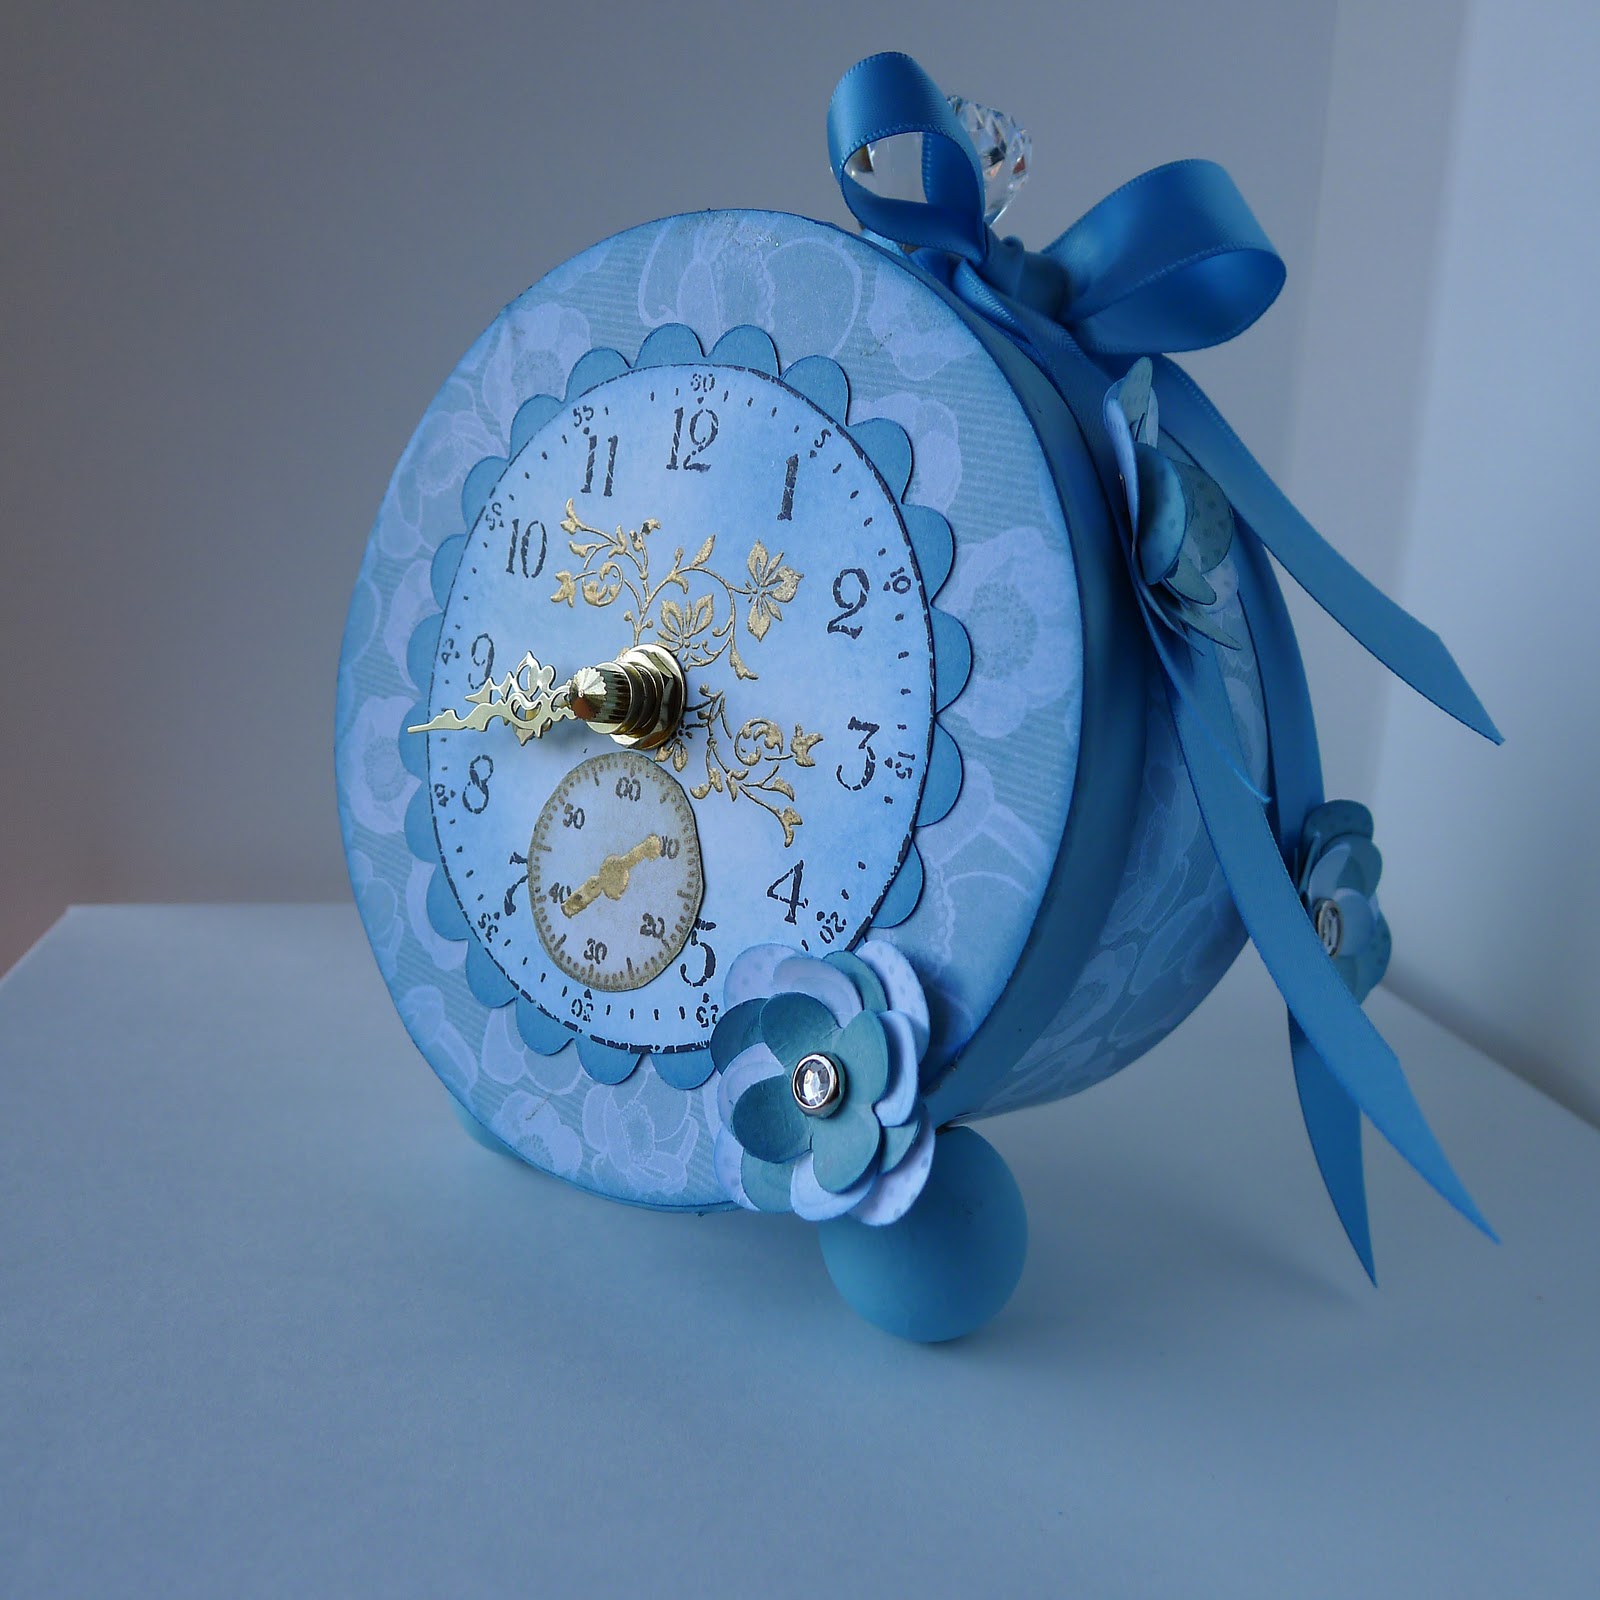
And so we continued to play.  Stamp sets and punches that match are fantastic.  Check out the Create a Cupcake from the new Occassions Mini Catalog.  We also had fun with the new 2 1/2 inch circle punch.  We ran those through the Crimper.  (Even my 4 year old loves to use that tool) We also decided that you don't have to make a bow to use ribbon - just punch a hole and pull the ribbon through.  We are getting into easy. 

This finishes off the inside of the card.  Hope you will get a chance to try some of these ideas. 

Wednesday, January 12, 2011

Thursday Stamping Group

Here are the members of the group that have not left the cold weather here in Bedford for sunny Florida.  That is Carol in the background and Suzanne, Sue, and Terry are at the table with me making the build a blossom card.


Sue is our newest Thursday Stamper - She did a great job with her cards.


This is one of the cards we made.  We used the new Build a Blossom stamp set and punch.  So easy to create a beautiful card with this set.  The colors we used are Daffidol Delight and Pumpkin Pie.  Don't you just love the names of Stampin'UP!  colors?


We also made a set of Birthday cards using an idea I saw on the net to use the Size D clear block as a stamp.  What a clever idea someone came up with to use a block as a stampl  The colors are Cherry Cobbler, Always Artichoke, Not Quite Navy, and Early Expresso.   I really like this set of cards and I wish I knew the name of the person who came up with this idea so that I could thank them.

Friday, December 24, 2010

Priscilla's Stamping 411 Clean and Simple

When I received the Stamping 411 email with the CAS card by Robin Merriman I was just blown away with the elegance of the card but also the simplicity of the technique.  Since there were just a couple more Christmas cards that I needed to make I went right into my very messy craft room and made two CAS cards a Christmas card and a birthday card using Robin's technique.  Both cards use gold embosssing and gold smooch on the base card and Very Vanilla Card stock.  All supplies are SU except for the red berries which are made with red stickles.  I should have used SU red glitter since the stickles takes forever to dry and naturally I smudged some of the berries.

Check out the 411 CAS technique at
http://stamping411.blogspot.com/2010/12/clean-and-simple-christmas.html
and Robin's blog at
http://trinitydesignstudio.blogspot.com/search/label/Stamping%20411%20Blog
Christmas card using Always artichoke ink and Very Vanilla card stock.
Birthday card using Cherry Cobbler ink and card stock with the Very Vanilla card stock. 

Monday, December 13, 2010

Thursday Stamping Club Christmas Party and Project

Our Thursday Stamp Club Christmas Party was actually a Christmas Tea.  After we made our little snowman card and our Luminere project we sat down and had a leisurely tea somewhat like I remember enjoying at the Empress Hotel in Victoria British Columbia with little smoked salmon, egg salad and ham and cheese tea sandwiches.  Of course we started with the Empress Hotel Champagne cocktail.  Then we finished with Christmas cookies and mulled cider.   It was a nicechange of pace to be able to just sit back and visit with everyone.   Here we are the Thursday Stamp Club. 


                 Our Christmas project is a Luminere with a LED flickering tea light inside to light it.  The box is made with the SU Fancy Favor Die.  We made the flower the French Foliage small leaf with a center of the seven SU Basic Pearls.  The velum insert is stamped with snowflake and then glittered with Dazzling Diamond glitter.  And then a beautiful Real Red Satin ribbon just finishes it off.


The flickering tea light shows up nicely through the vellum.  

Monday, December 6, 2010

Sandi MacIver inspired Clocks


A while back Sandi Mac Iver posted pictures of her "Alice in Wonderland" clocks and our talented new SU Demonstrator Claire cased them and made 5 of her own clocks.  Claire bought me my own clock kit and this is what I came up with for my clock.  As you can tell I definitely cased Sandi's idea.  Here is the url to Sandi's SplitCoast post:
http://www.splitcoaststampers.com/gallery/photo/1783408?&si=clocks

I think my clock needs a little more bling but I can't think of what to add? Any suggestions would be welcome.


These are the five clocks that Claire made.  Aren't they just adorable.  The green clock is her New Hampshire clock and is decorated with pine cones and twigs - just perfect.

We used the SU Sense of Time set to make the clock faces.

Friday, December 3, 2010

Snowman Christmas Card

Here is the gorgeous birthday card that Barbara made for Harold's birthday.  I was blown away by the innovative design that she came up with for this card                       


Now I needed another card for the Thursday club so naturally I decided to case Barbara's card.
This is the card that we did not get a chance to do at our Thursday stamp club but never fear we will make this card next week.   My snowman card even uses the same ribbon as Barbara's card - Marina Mist satin.


The snowman card uses the little snowman from the jolly Old Saint Nick stamp set, the large scallop square from the scallop square Duo Bigz die cut in Marina Mist, a layer of Baha Breeze.
The snowman is stamped with Versa Mark ink and then embossed with silver embossing powder and colored with Stamp Write markers. Then of course a little sponging with Marina Mist. Can you see the spot of Pumpkin Pie for his carrot nose?


The left side is a piece of Baha Breeze embossed with the new Northern Flurry embossing folder.
 The inside is a  layer of Candy Cane Christmas DSP and a snowflake with a "diamond" jewel. 

I must say this little snowman is adorable.  Hope you all like the cards that Barbara and I made.